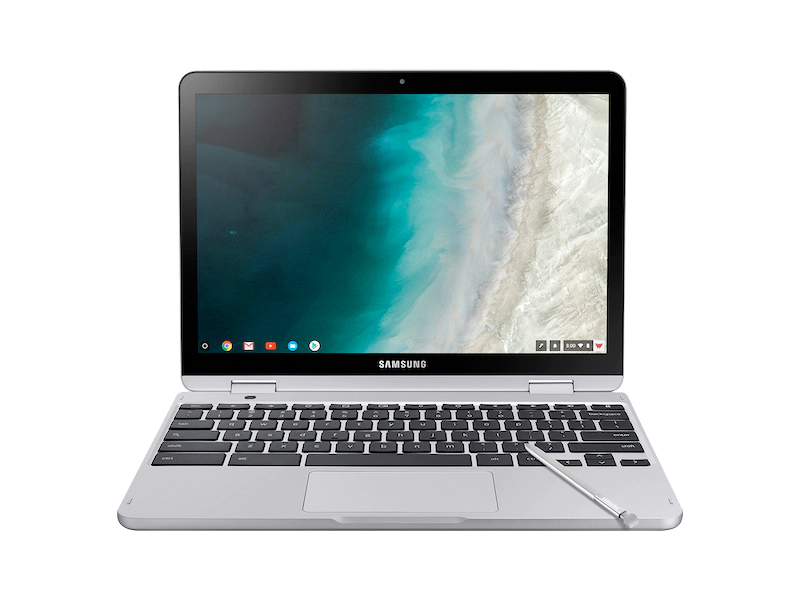
Here’s how you change the DNS servers on most Chromebooks.
- Click the menu icon in Chrome and click Settings
- While in Settings, click the dropdown containing the name of your current Wi-Fi network. In the dropdown list that appears, click the name of your Wi-Fi network again.
- A prompt window will appear on your screen with three tabs, Connection – Network and Proxy. Click the Network tab
- In the Network tab, select “Custom name servers” and enter two DNS servers.
-
You need to be logged in to view this part
Already a member?
- Once you’ve done that, click Close, restart your computer and see if you’re correctly linked.


